Managing MySQL Using DBeaver
DBeaver is a free multi-platform database administration tool for developers, database administrators, analysts, and other database professionals.
1. Download the DBeaver installation package
Download the DBeaver installation package at https://dbeaver.io/files/dbeaver-ce-latest-x86_64-setup.exe.
2. Install the DBeaver
Complete the installation using the default configuration.
1>
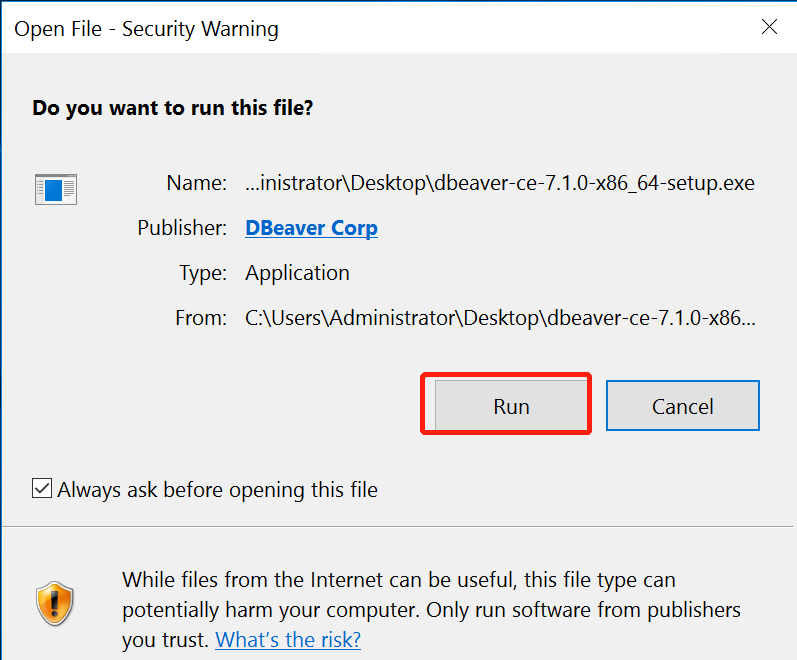 2>
2>
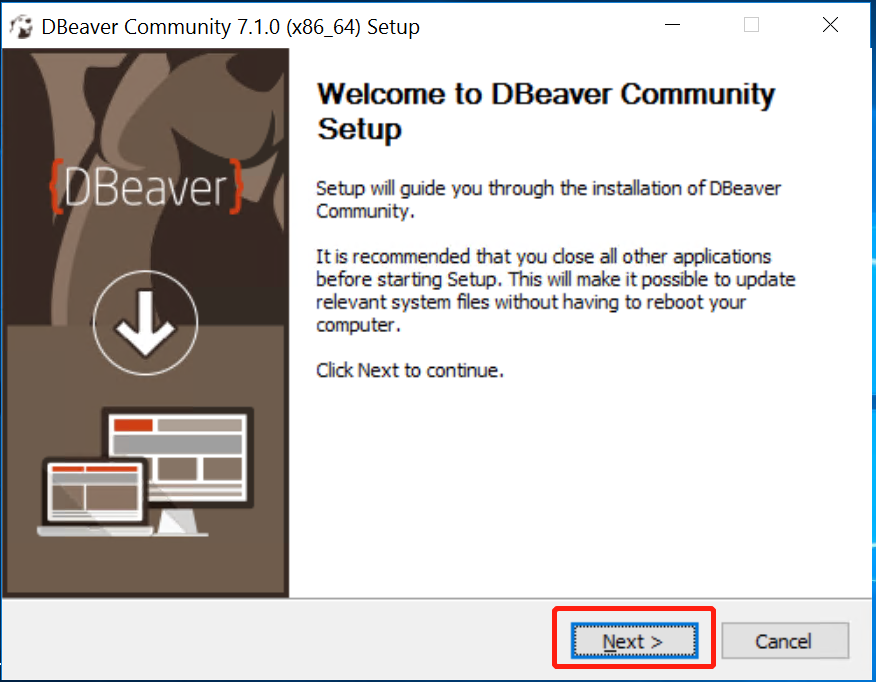 3>
3>
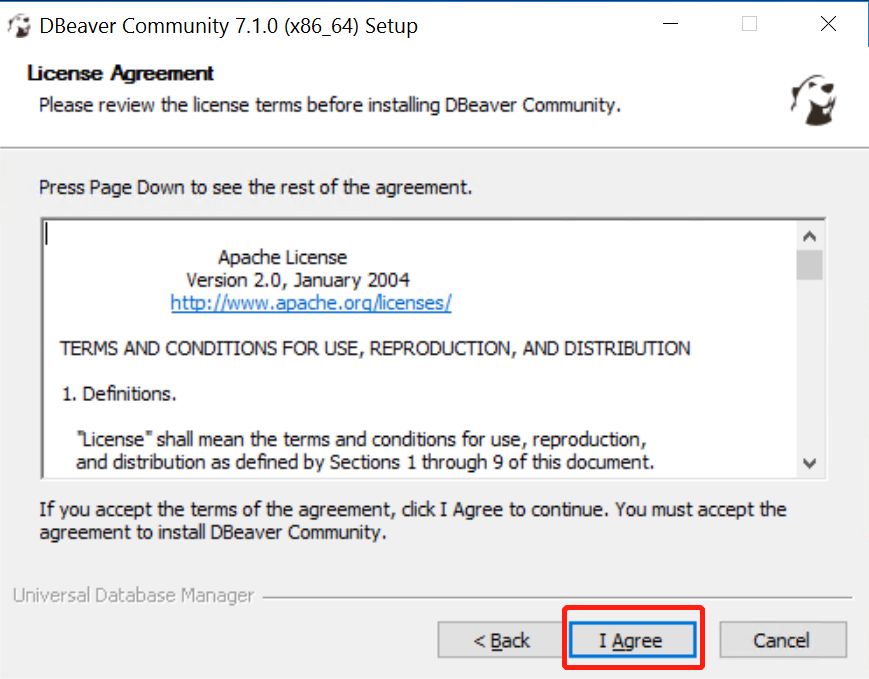 4>
4>
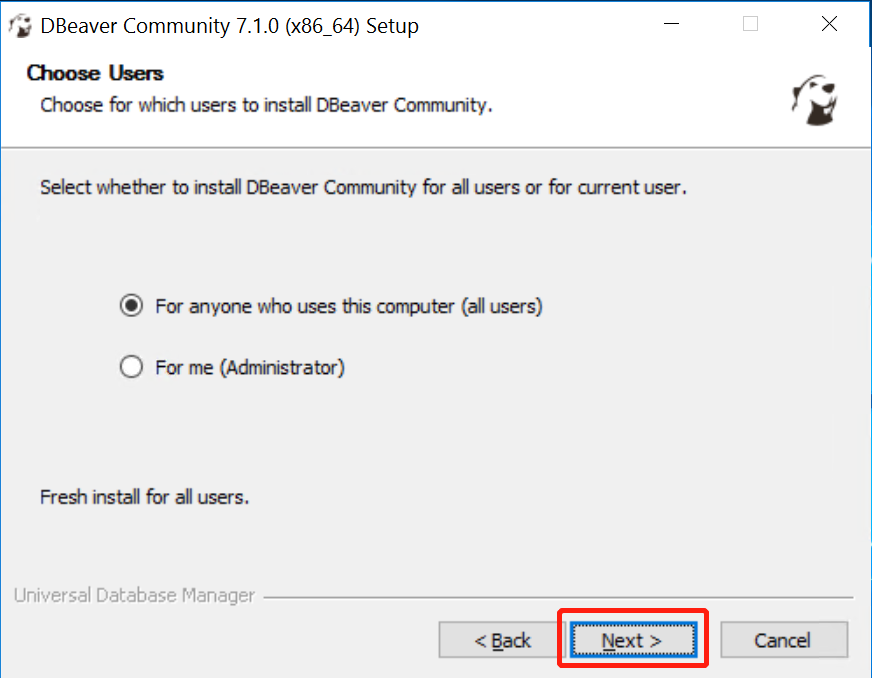 5>
5>
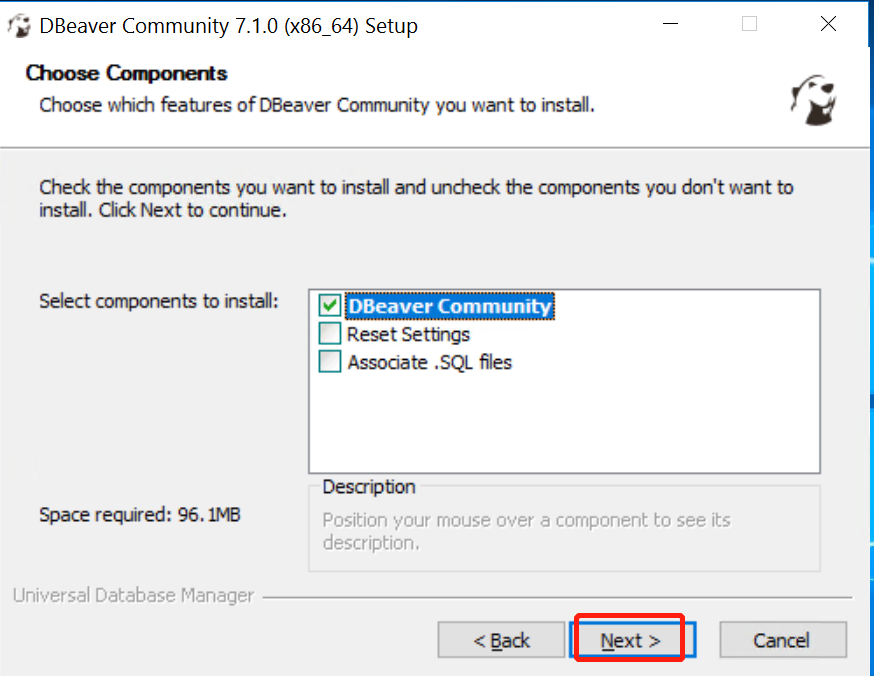 6>
6>
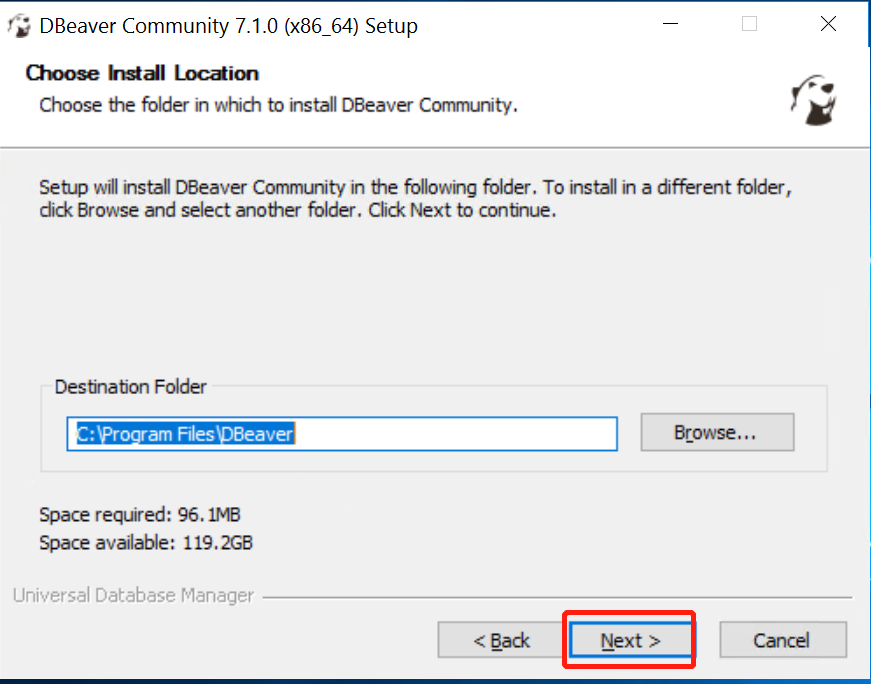 7>
7>
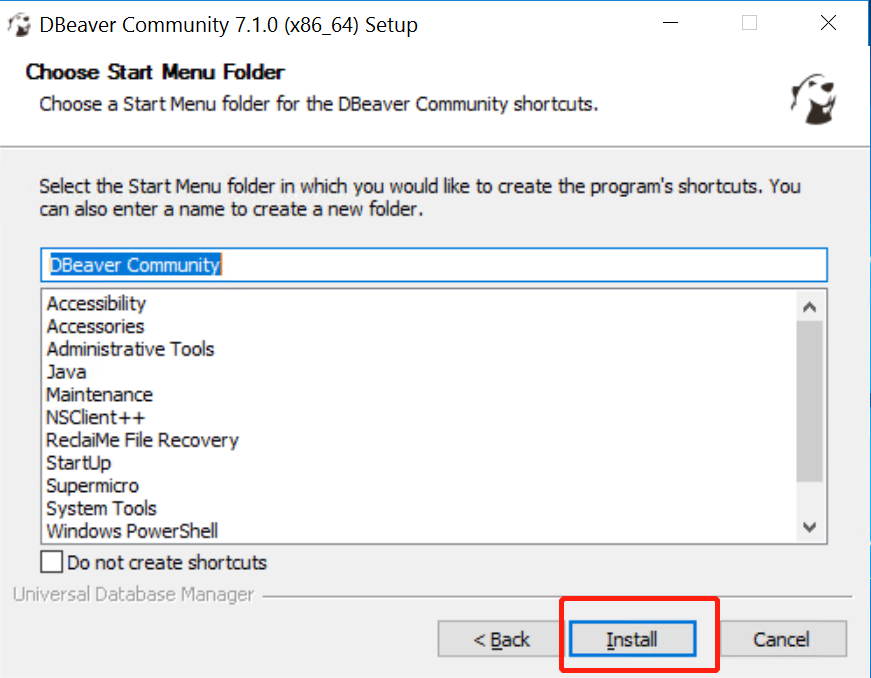 8>
8>
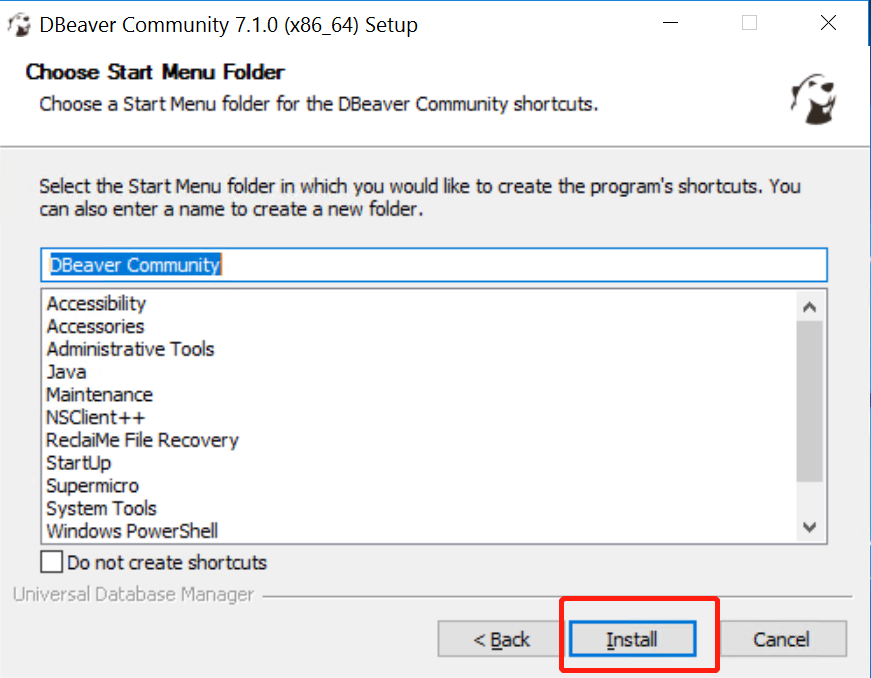 9>
9>
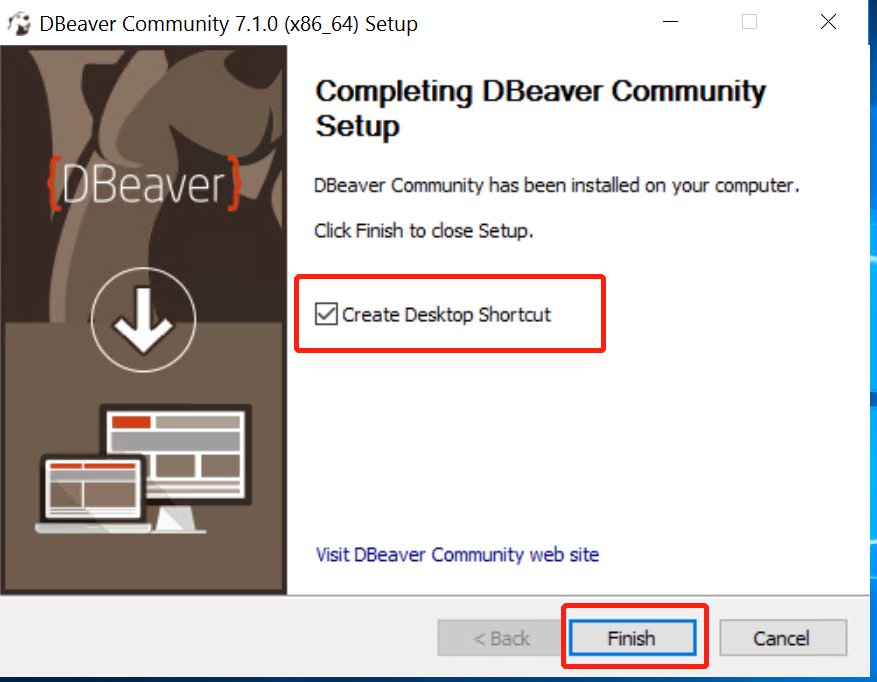
3. Connect to the Database
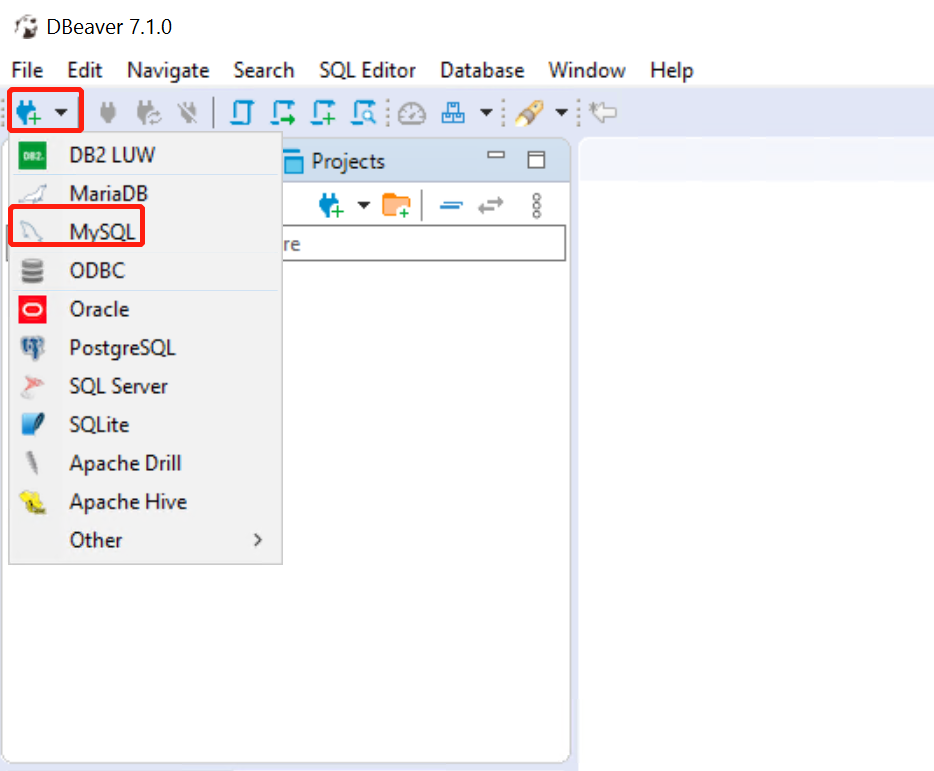
Open your DBeaver first.
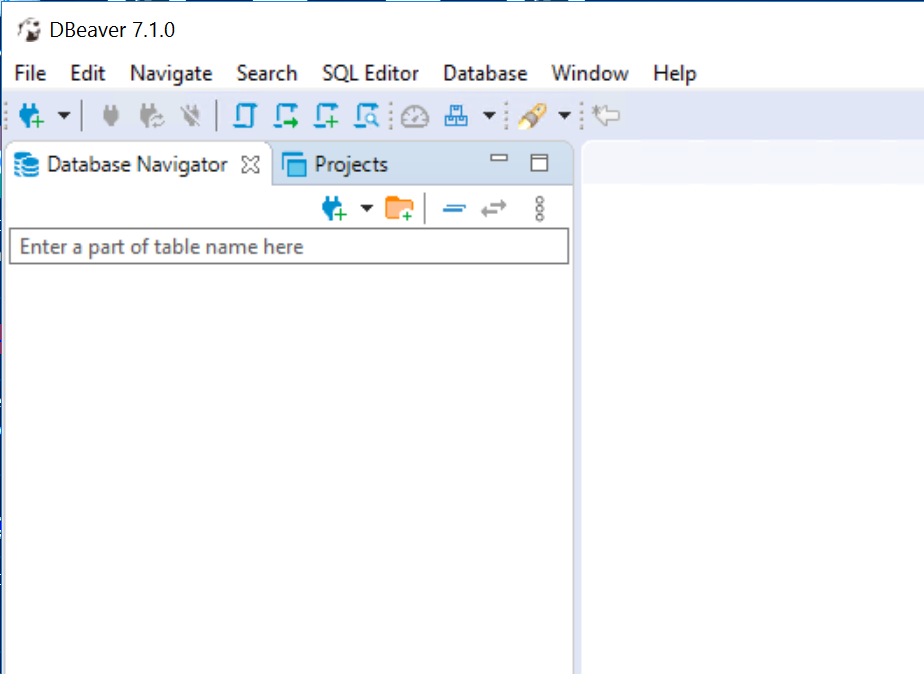
Open the drop-down menu and select “MySQL”.
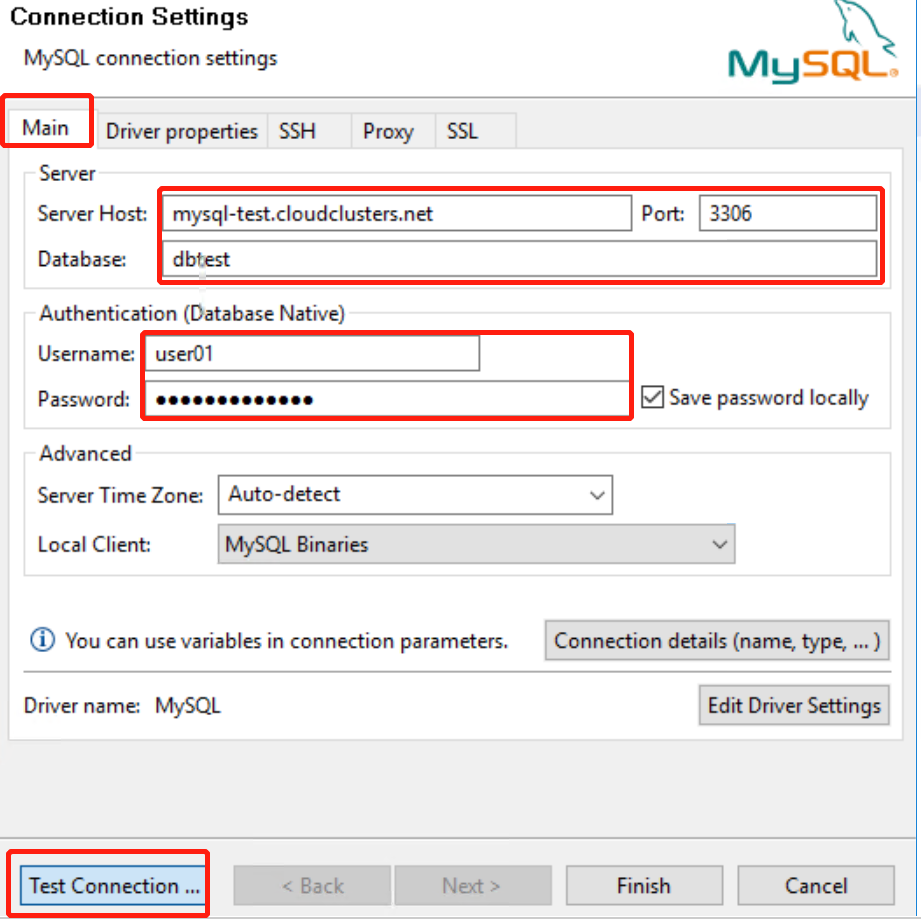
Enter your MySQL server host, port, database name, username, and password and then click the “Test connection” button.
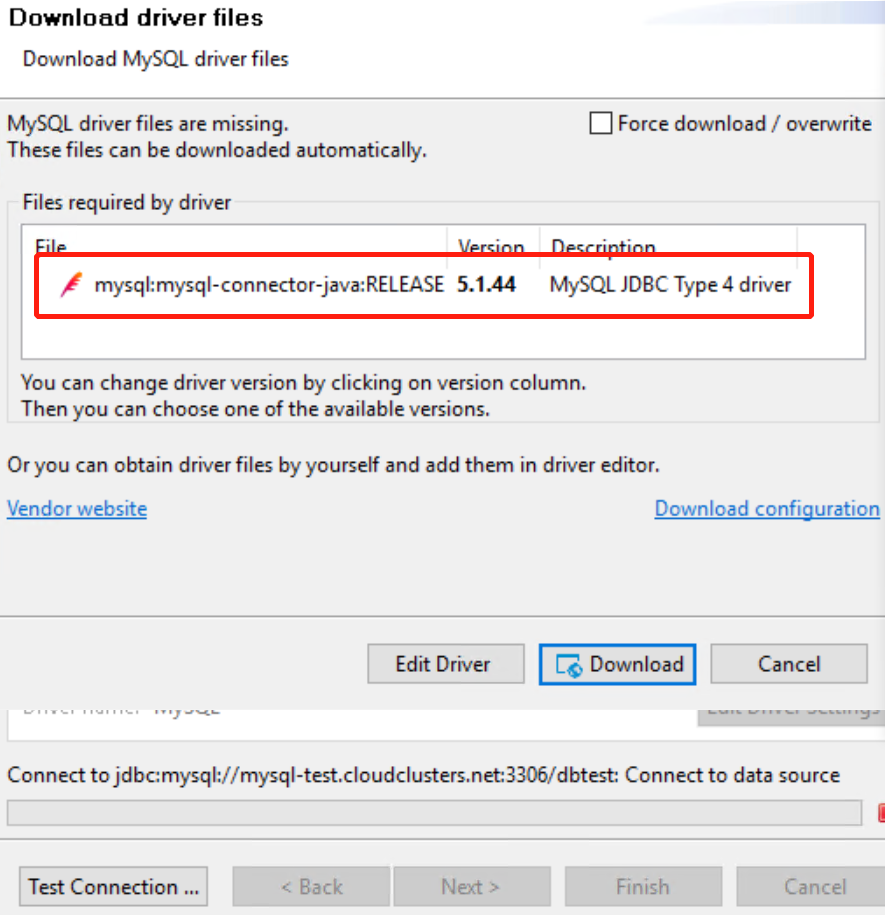
If the driver “mysql-connector-java” is not on your computer, click the button “Download” to download it.
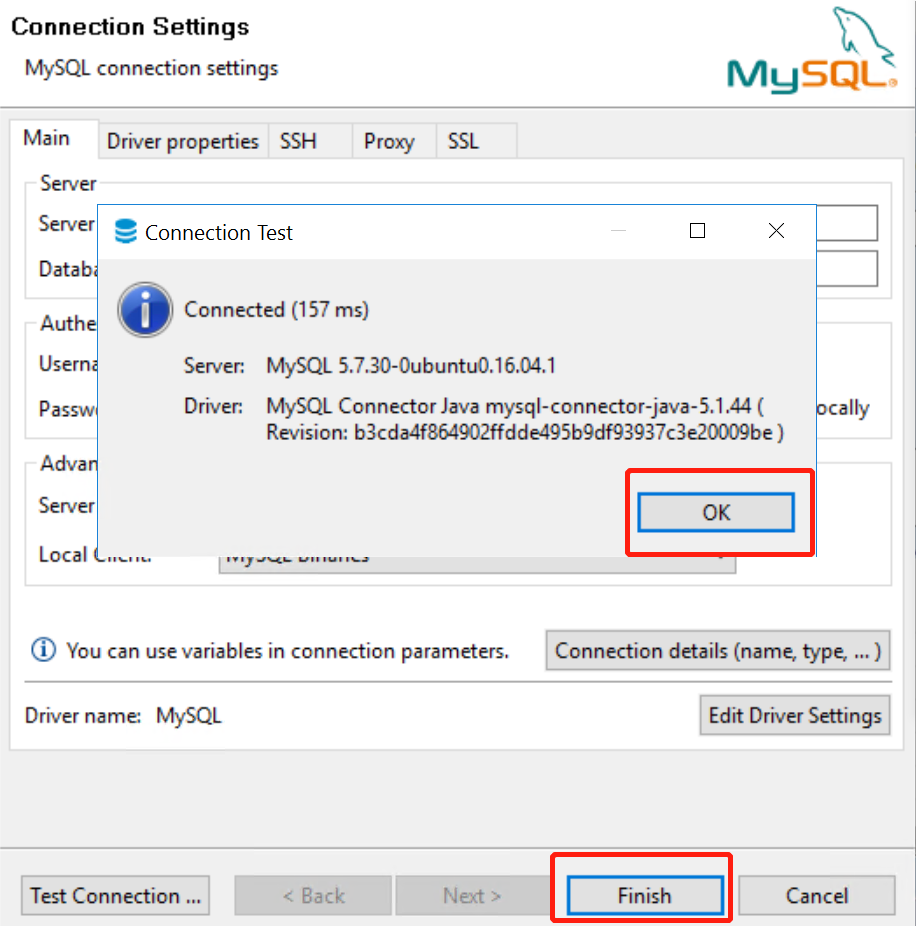
You will see the connection test result once the driver download is completed. After that, click the “Finish” button to enter the software.
4. Manage Your MySQL Database
Create a new database.
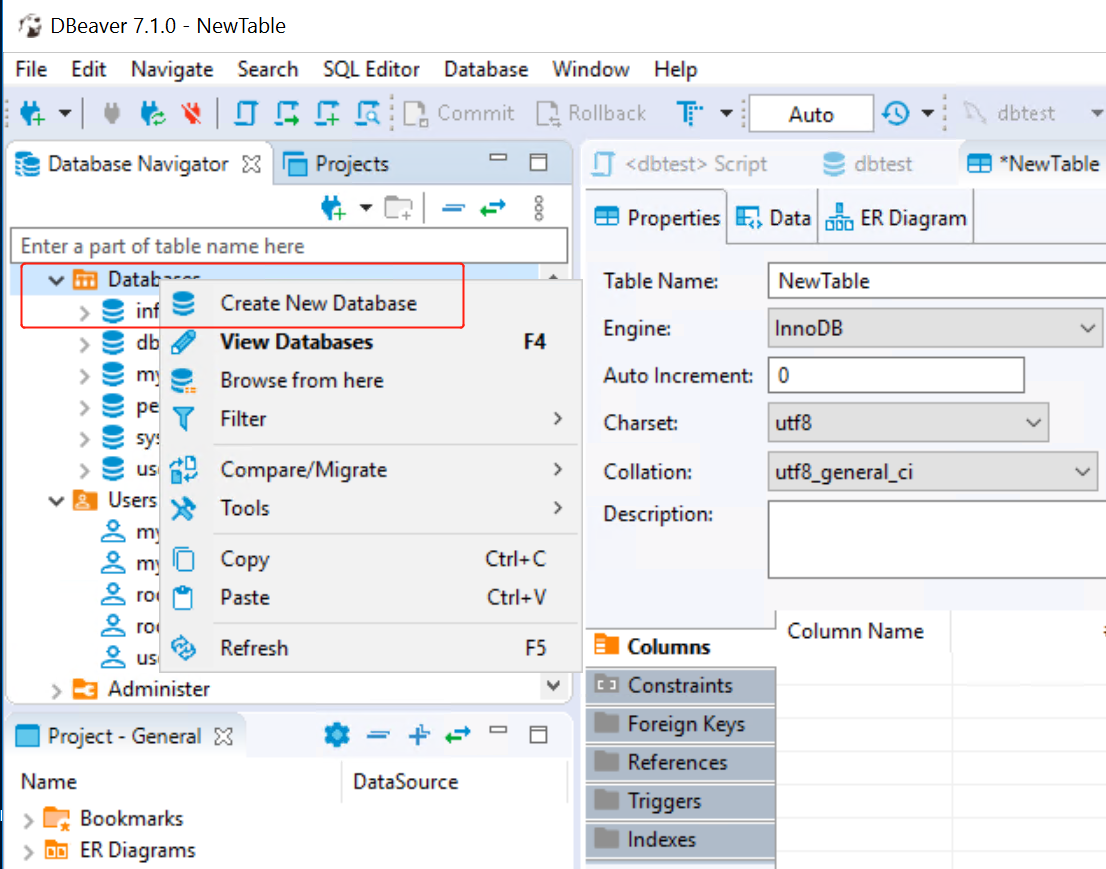
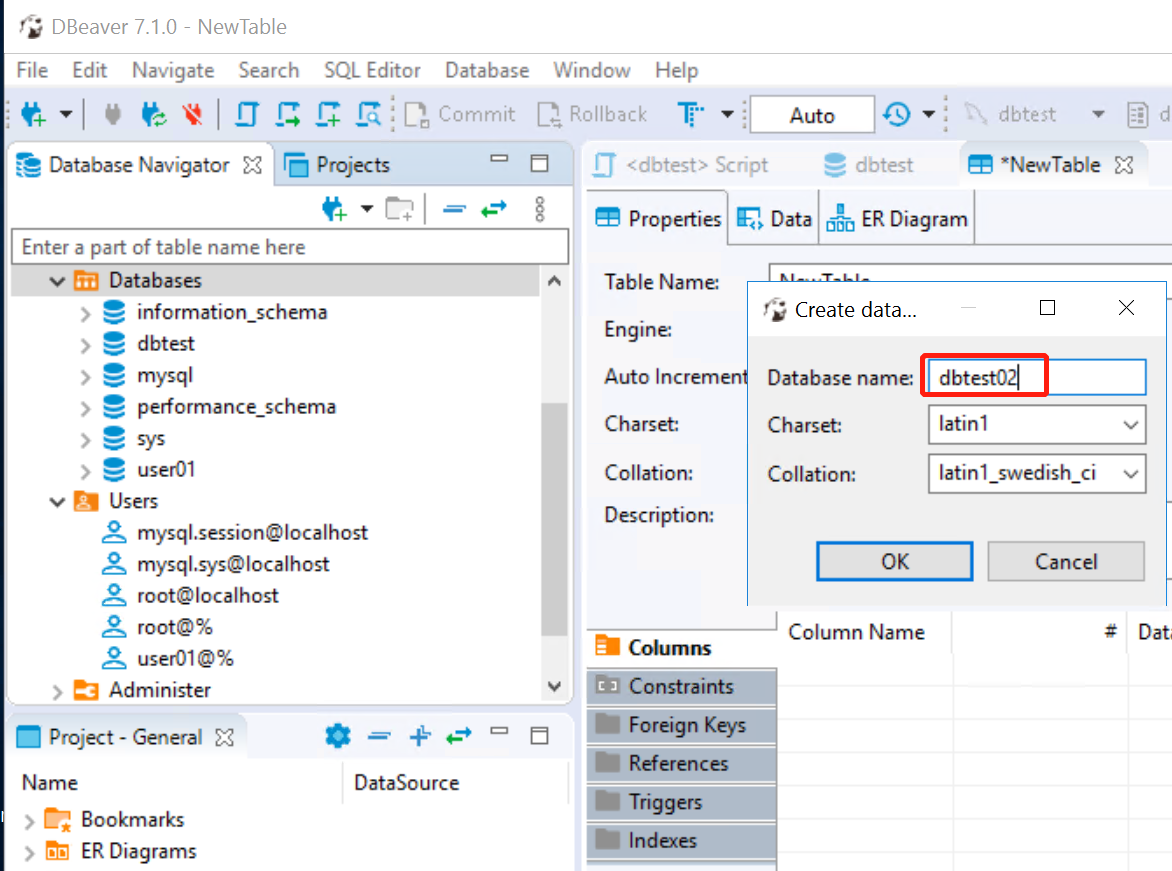
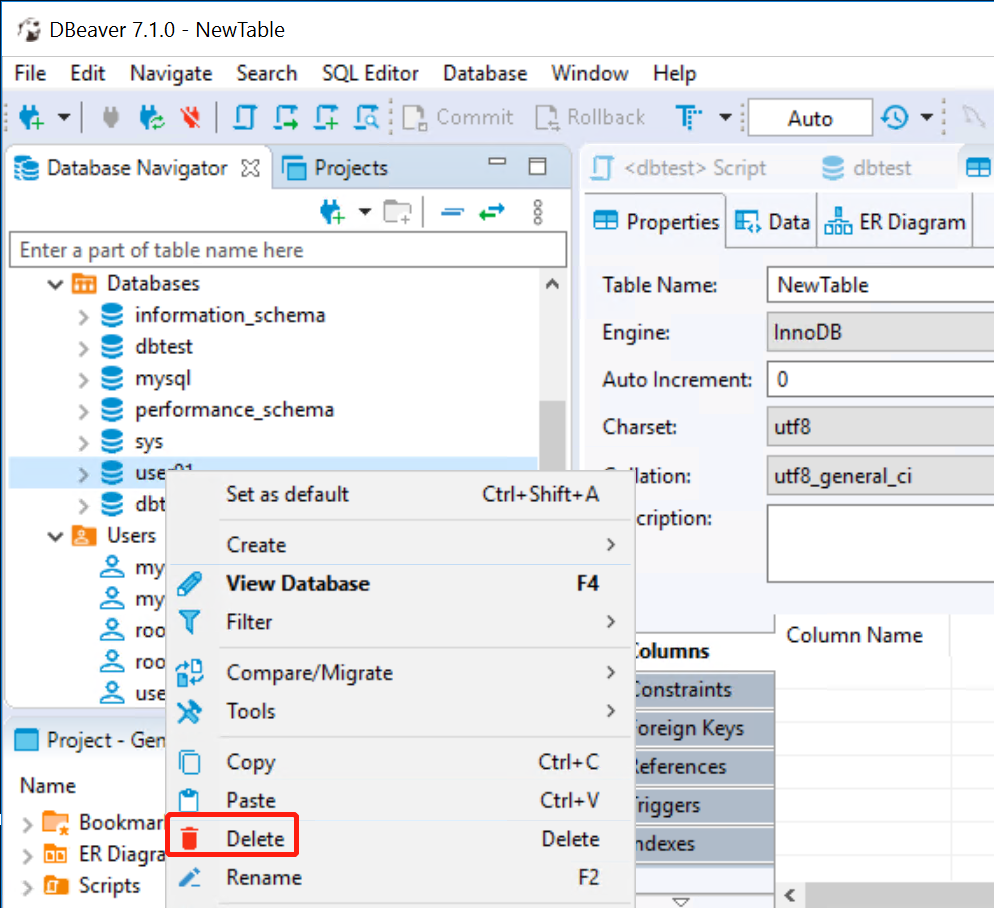
Delete database
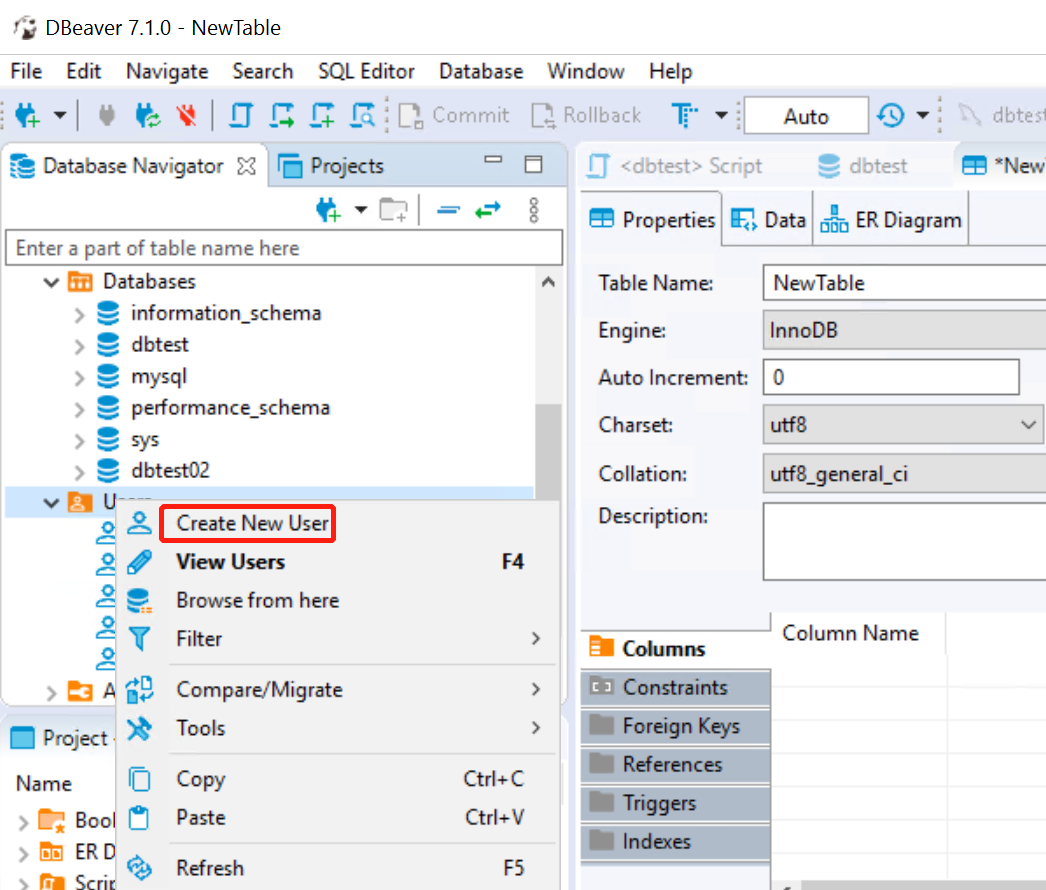
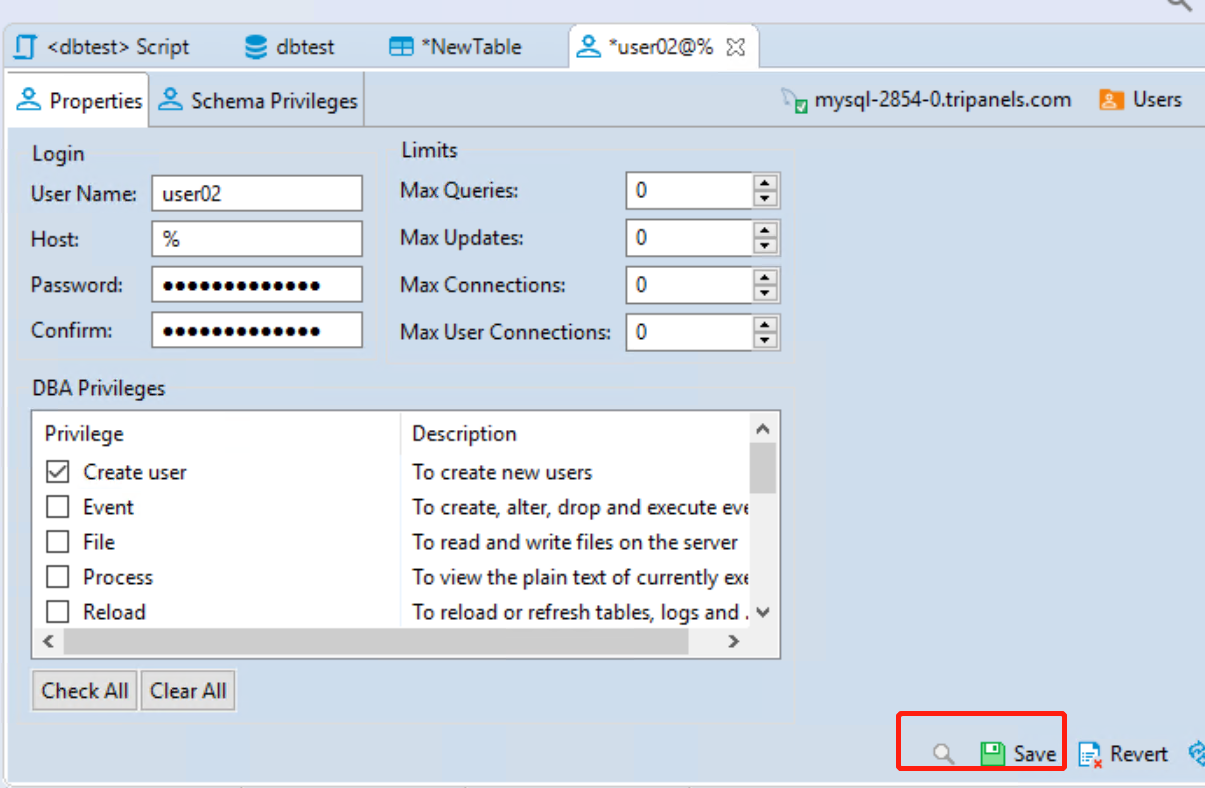
Create a new user
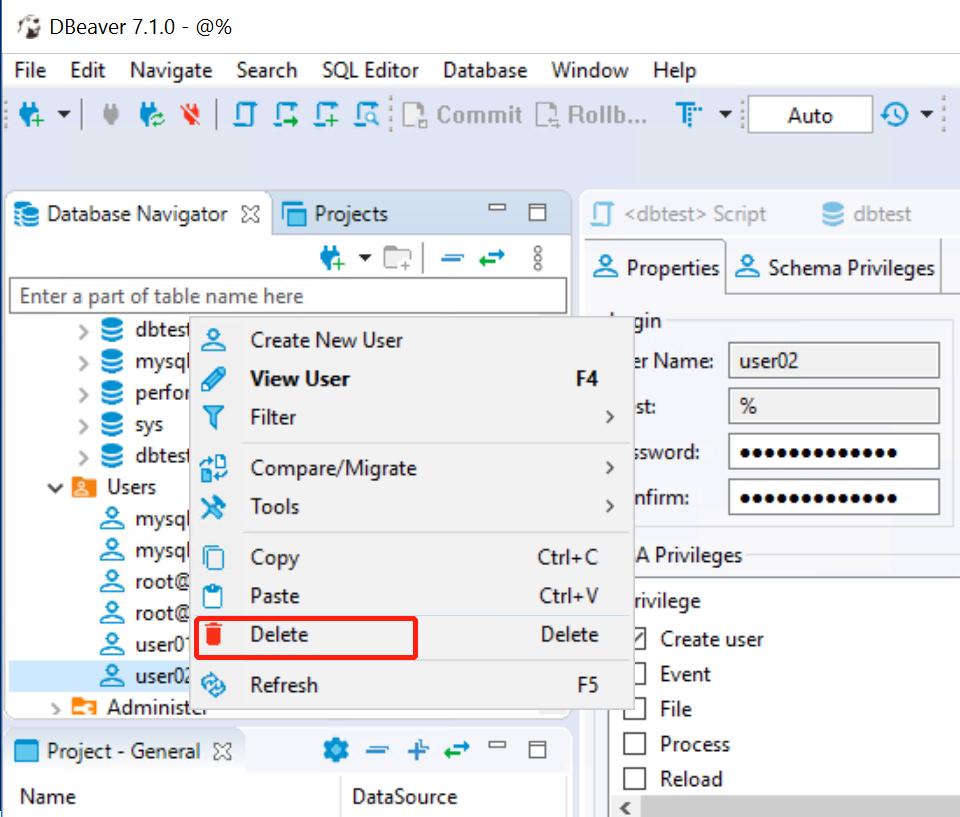
Delete a user
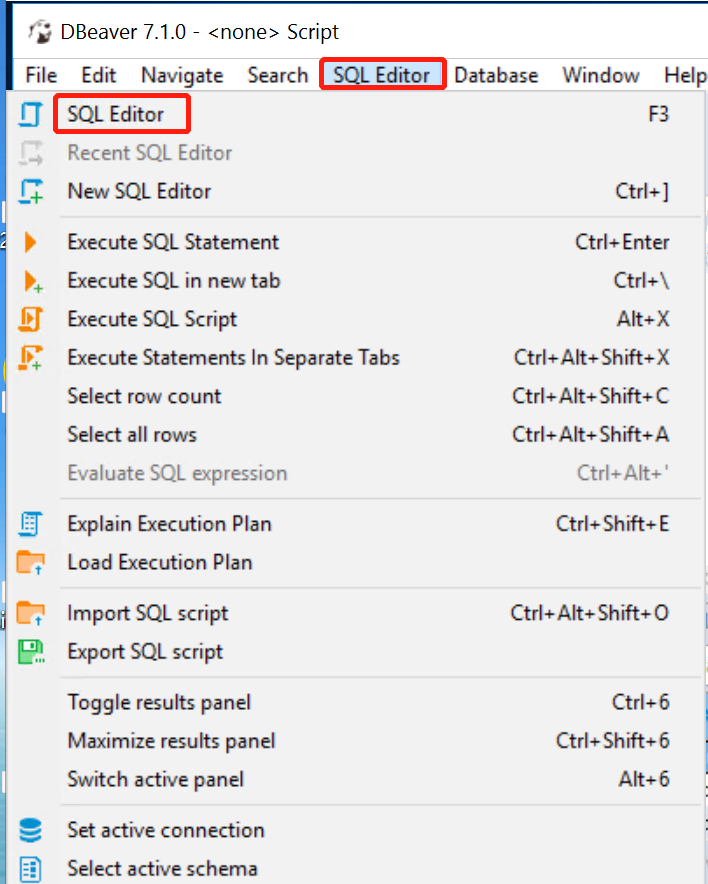
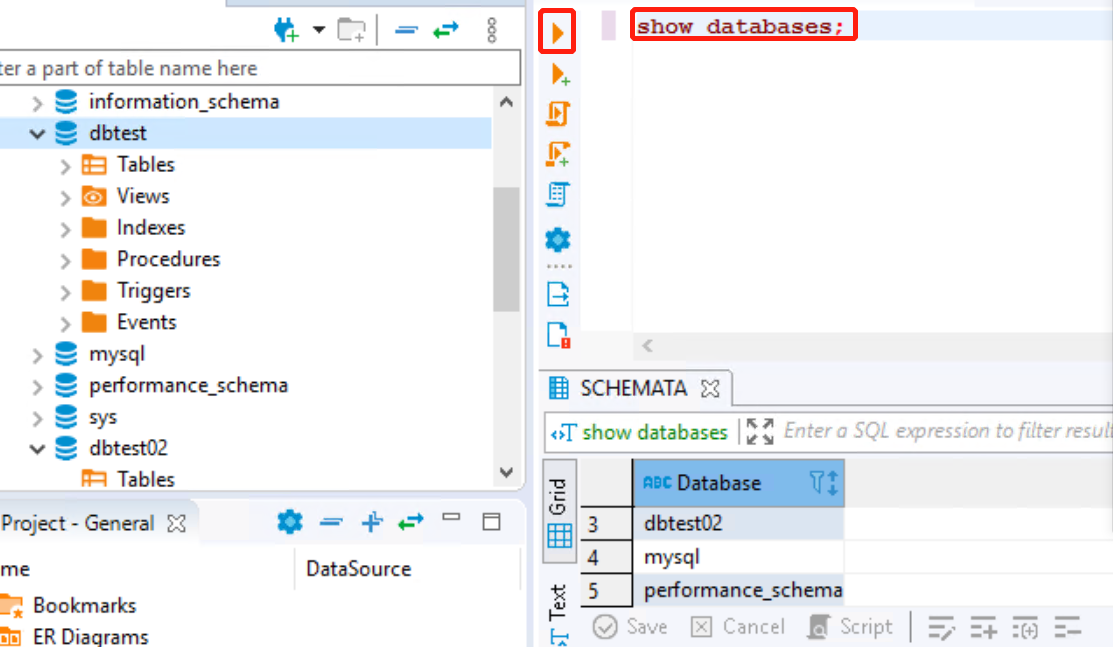
You can also go to the SQL Editor to execute SQL commands.
