Managing MySQL database via Workbench
This article will show you how to manage MySQL database via Workbench. The MySQL Workbench is a unified visual tool for database management. It provides data modeling, SQL development, and comprehensive administration tools for server configuration and user administration. MySQL Workbench is available for Windows, Linux, and Mac OS.
1. Locate your target application
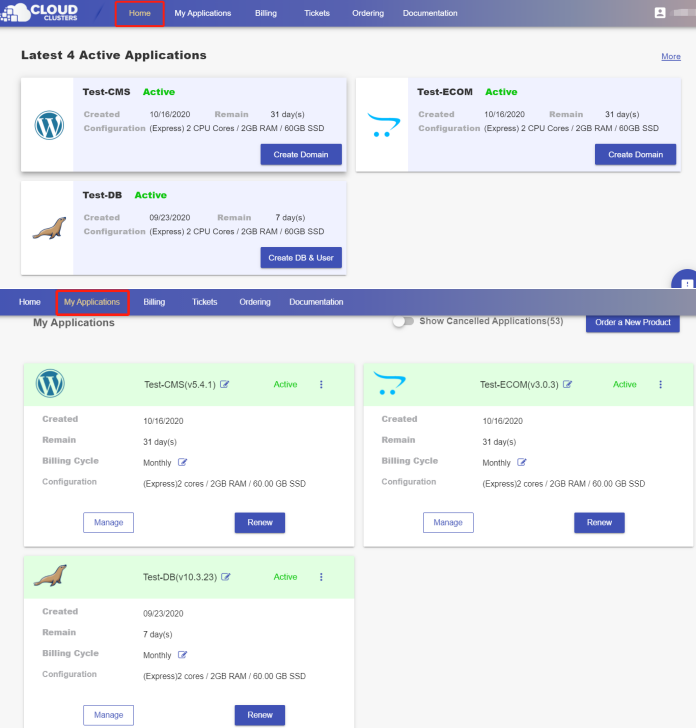
Log in to the Control Panel and locate your target application on the Home page or the My Applications page.
2.Get connection string information
Go to the Overview page by clicking the "Manage" button on the Home page or the My Applications page.
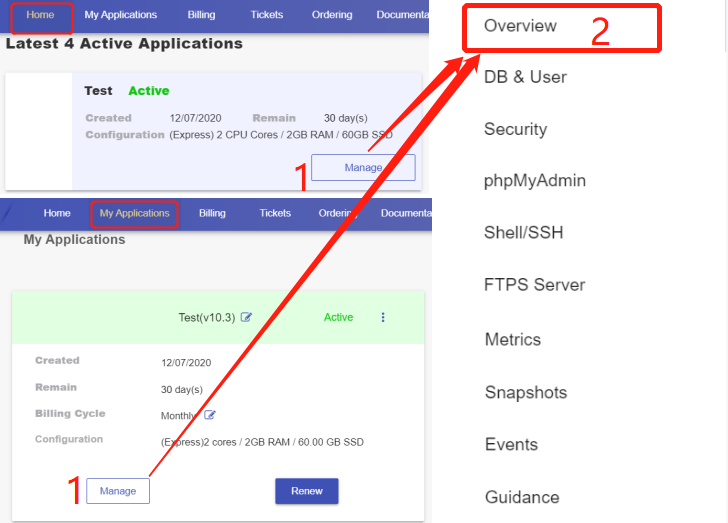
Copy the connection string for your database.

3.Connect to databases using Workbench
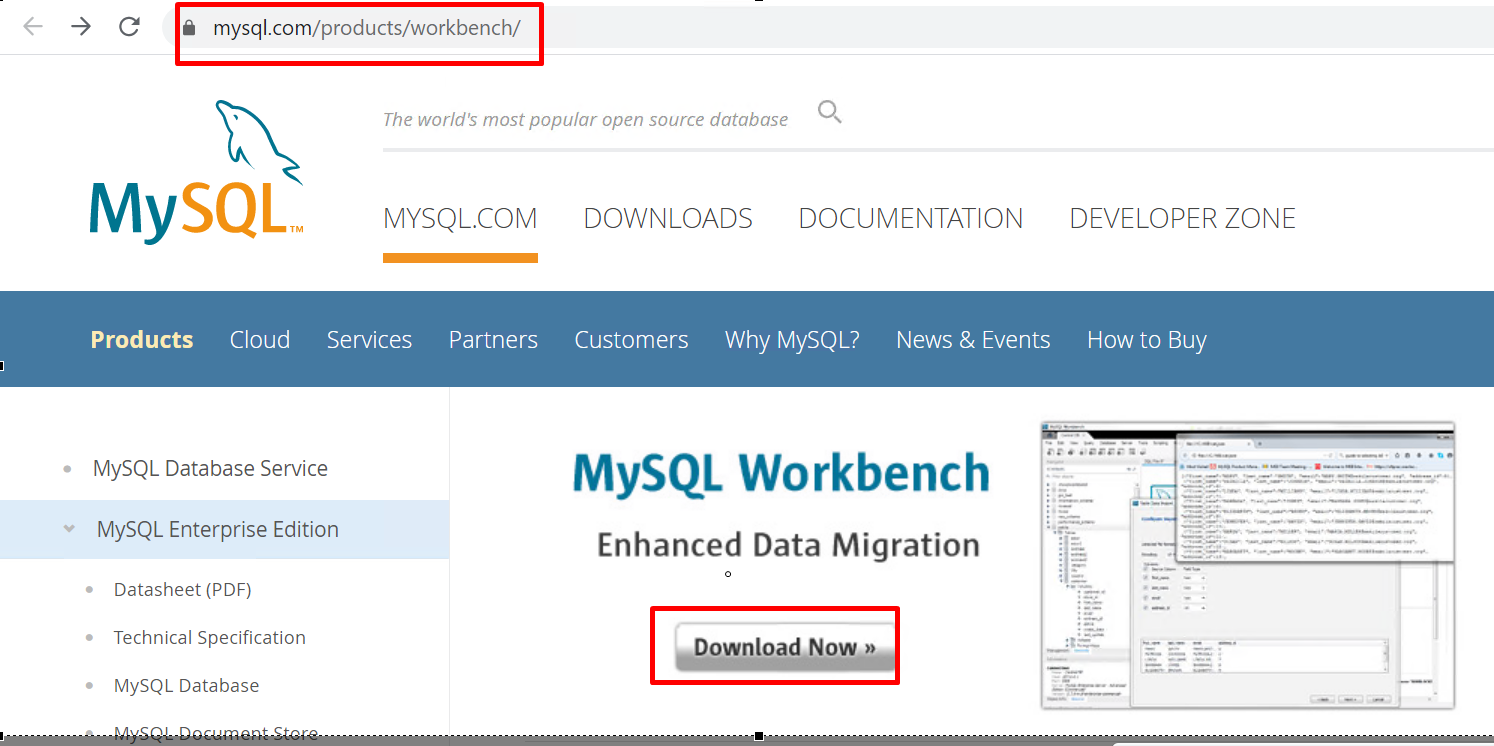
We can download MySQL workbench tool at https://www.mysql.com/products/workbench/.
Start MySQL workbench tool and set up a new database connection as the screenshot shows.
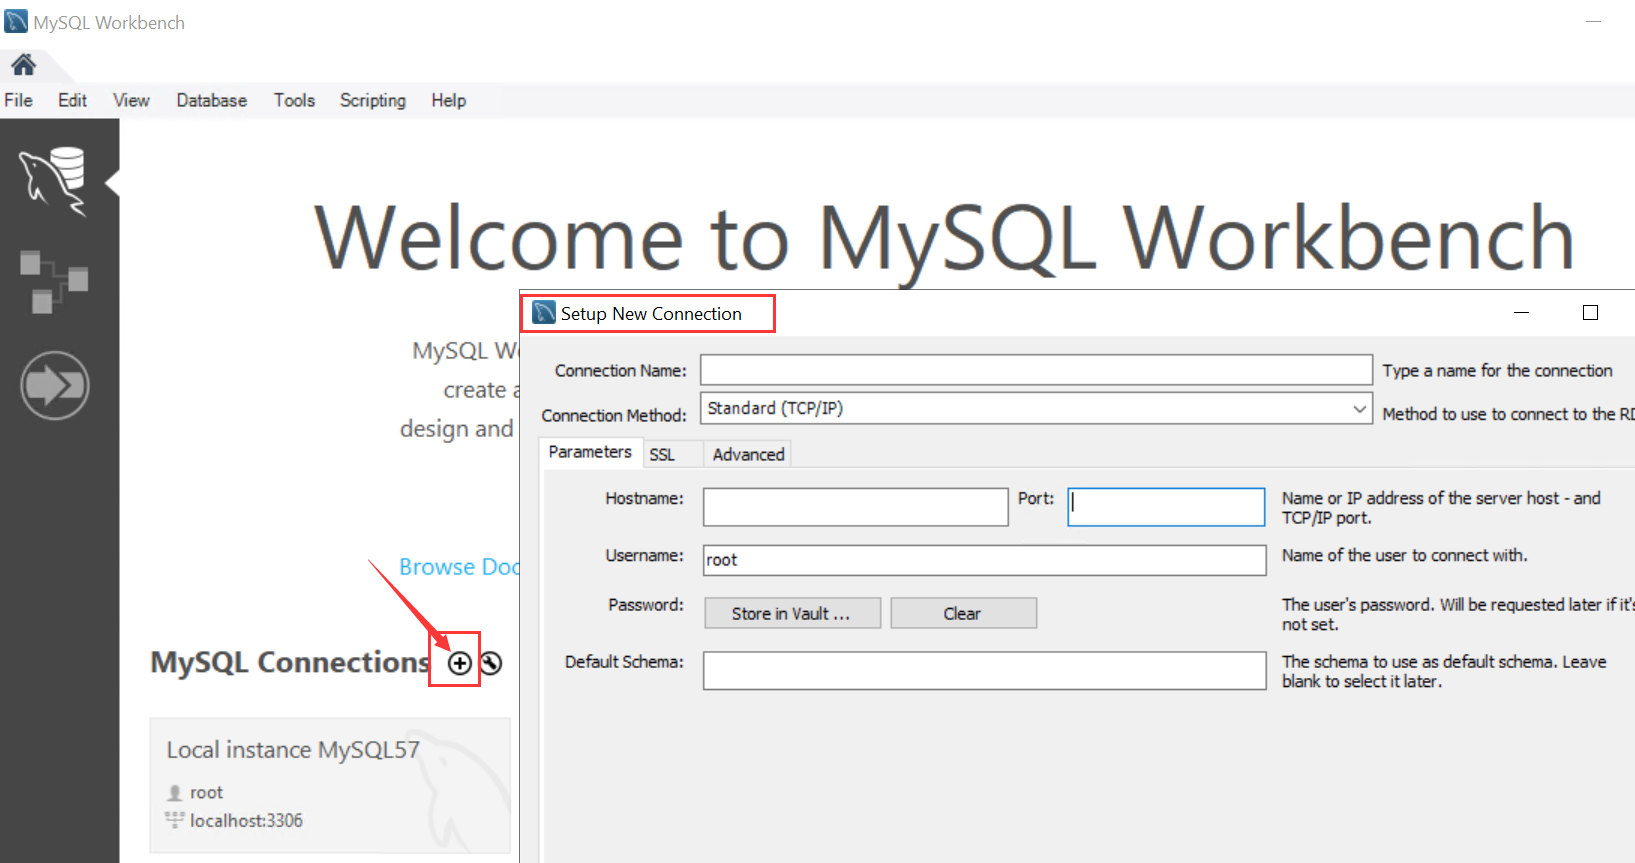
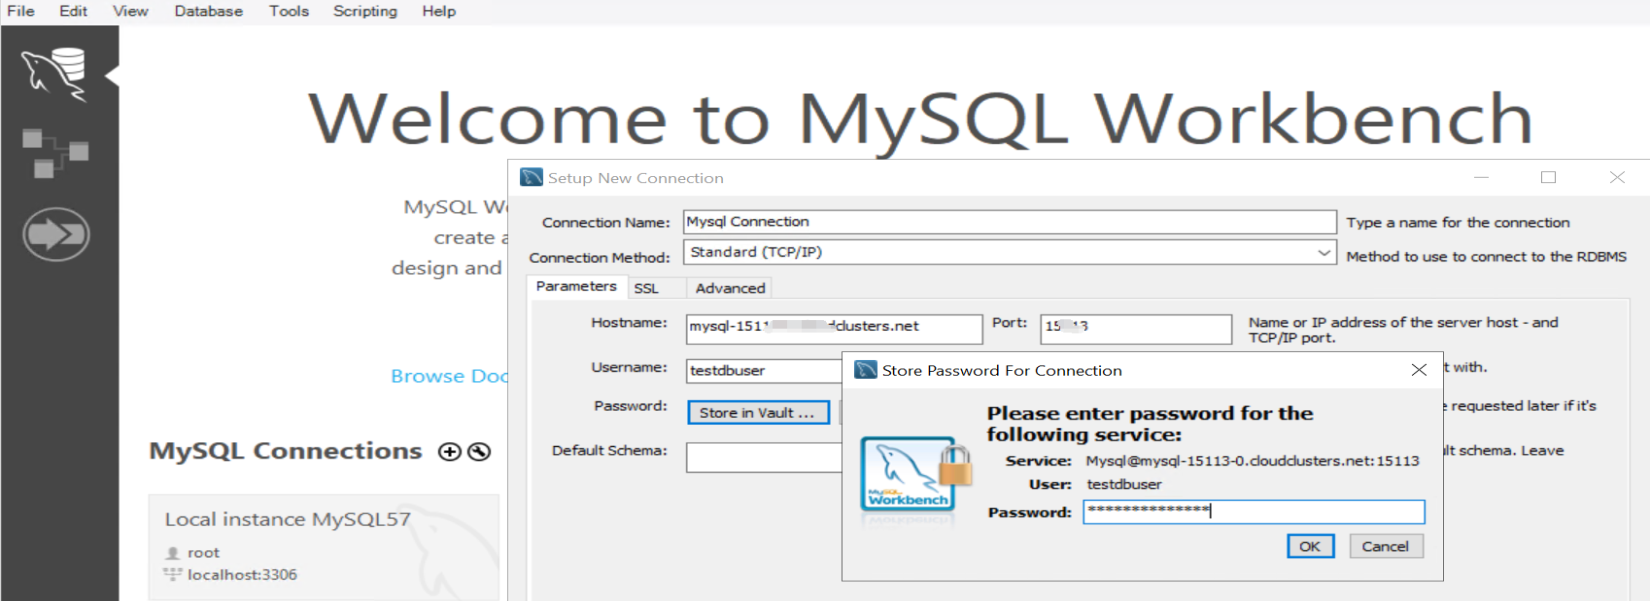
Fill in the requested information to connect the database. Connection name – The name that will be shown in MySQL Worbench (Does not affect connection) Connection method – Select “Standard TCP/IP” Hostname – The IP address or hostname for the server Port – Port information is defined in the control panel Username – Usually root, but any account with similar privileges will work Username – Click “Store in Vault” Password – Enter your password and click “OK”.
4. Manage your database
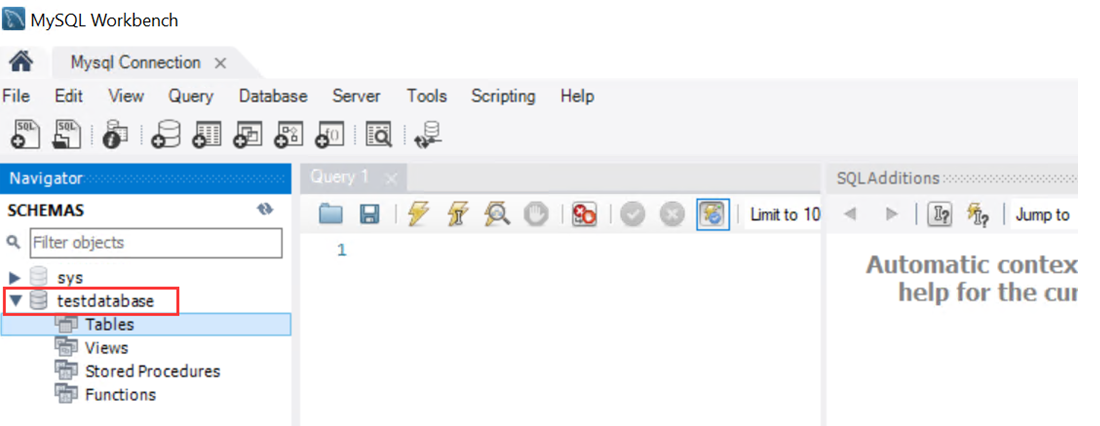
Click on the created connection to connect to your database, and now you are ready to manage your database as you like.
